

Software and Hardware Tools for use with
Embedded C Programming: Techniques and Applications of C and PIC® MCUs
by Mark Siegesmund
The exercises in the book have been tailored to the CCS E3mini development board. This board uses the PIC18F14K50 processor. Because the board has a bootloader, no device programmer is required to reprogram the board with new software. It also has a USB port that can be used to communicate between a PC and the user program running on the PIC® MCU.
Note: If you have received a 'Timeout' error, click here to find out how to resolve the issue.
Offers for Book Owners of the Embedded C Programming:
 |
|
 |
||||||||||||||||||||||||||||||
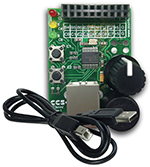 |
E3mini Development Board
|
$25 53217-1359 |
||||||||||||||||||||||||||||||
|
10-pack E3mini Development Board
|
$200 53217-1529 |
|||||||||||||||||||||||||||||||
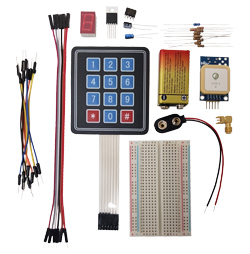 |
E3mini Advanced Accessories Kit
|
$25 53217-1530 |
||||||||||||||||||||||||||||||
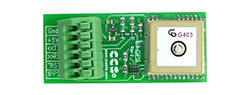 |
E3 GPS Module
|
$30 53217-1574 Out of Stock
|
||||||||||||||||||||||||||||||
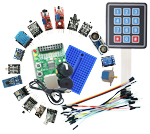 |
Sensors Explorer Kit
|
$69 S-205 |
||||||||||||||||||||||||||||||
|
PCWH IDE Compiler for PIC10/12/16/18
Save $50!
|
$450$500 52201-323  |


Getting Started with the E3mini Development Board
In this video, you will learn how to:
- Install the compiler software
- Compile and download a program to the board
If the board is not working, watch the video on troubleshooting problems.

Build Your Own Hardware
Other development boards and even a simple bread-boarded PIC® MCU can be used for these exercises as well. Pin designations and other instructions may need to be modified depending on the specific PIC® MCU used and the development board configuration.
If building a E3mini style board from scratch a device programmer will be needed to load firmware into the part. Instructions are as follows:
- Download the E3mini firmware image (.hex file).
- Connect the device programmer to your target chip and the PC.
- Power up the target board.
- Start the device programmer software.
- Load the e3mini.hex file.
- Click on the "Write to Chip" icon.
Software Install
Step by Step Instructions for Compiling and Running a Program
Contact Elsevier to gain access to instructor materials for this book.
